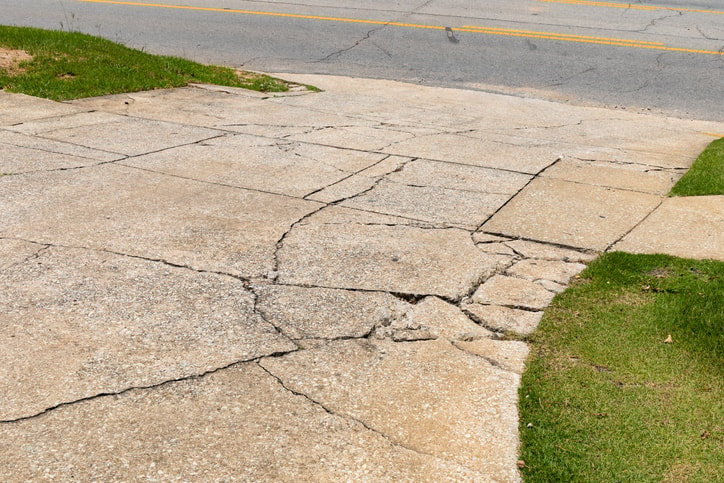
George’s walkway needs some serious work. The existing concrete surface is riddled with little imperfections. It’s nothing too extreme, at least not yet. There aren’t a ton of cracks everywhere. The concrete surface simply has little holes scattered around, which ruin the aesthetic.
George isn’t sure what to do. The amount of damage is more than just simple patchwork, but it’s not so much that he wants to tear the whole thing down and get completely new concrete. He would prefer a solution that doesn’t have such a high cost.
Fortunately, he does have another option — resurfacing concrete.
What Does It Mean to Resurface Concrete?
Resurfacing concrete is when you add a new layer over your existing concrete. This strengthens what’s already there and fixes any imperfections.
This is a great option when you start to notice some wear and tear on your existing surface, but it’s nothing so extreme that you’ll want to tear it all apart and create an entirely new surface.
What Makes Up The Resurfacing Layer?
You might think that all we have to do is mix more concrete, pour that over the existing concrete, and call it good. But the top layer of resurfaced concrete isn’t exactly regular concrete. If it was, it would just crack and deteriorate like the layer underneath.
There are a variety of resurfacing concrete mixes, but a majority of them are made up of some kind of cement (usually Portland cement), polymers, and sand. It’s designed to stick to the existing concrete, adding to the overall structure.
Just like regular concrete, you simply add water, and it’s ready to pour. But if you do a side-by-side comparison, you’ll see that the resurfacing material is much more runny than fresh concrete that has just been mixed.
The Steps To Resurfacing Concrete
Every single concrete project we do is a little different from each other. There is often something unusual about your property’s situation, and we address that when we start planning out how we’re going to help.
With that being said, there are certain steps we take with concrete resurfacing that are the same in most projects.
Clean the Concrete Surfaces

The first thing we do is surface preparation. We need to make sure there is no more dust, oil, grime, or any other debris. Getting rid of that ensures proper adhesion to the existing surface when we apply the resurfacer.
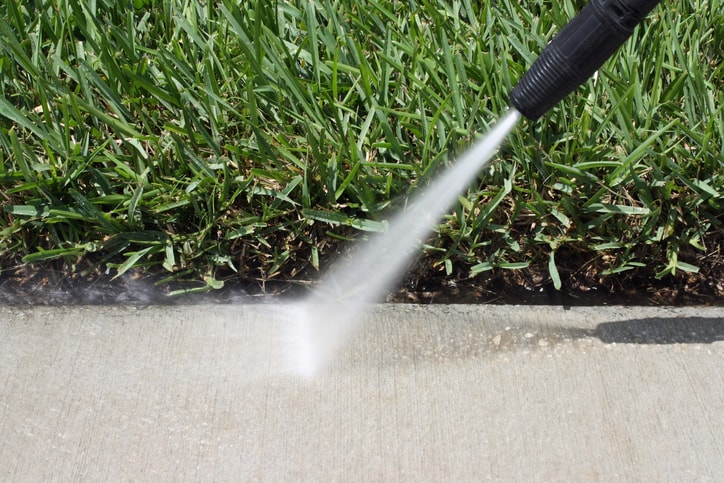
We do this by using a pressure washer. It’s important to remove dirt and make sure it’s as clean as possible. We’ll also brush off any other debris that we can find on concrete surfaces.
After that, we’ll brush standing water off any concrete surfaces that we are working on. The concrete surface should be damp when we apply the resurfacer. This keeps cool temperatures on the concrete and prevents the water within the resurfacer from being drawn out. If too much time has passed between cleaning the surface and actually applying the resurfacer, we’ll apply a mist beforehand.
Prepare Control Joints
When we resurface concrete, we need to make sure it doesn’t get into any control joints or expansion joints. We recently posted an article about them. They are what a lot of people think of as cracks that we purposely put into the concrete when we install it.
Those joints are there to prevent unwanted cracks. You don’t want to interfere with them, so what we do is take weather stripping and apply it into the joints. This makes it so when we are in the process of concrete resurfacing, we don’t accidentally seal them over.
Concrete Repair
Before we apply any resurfacer, we need to handle basic concrete repair. This means finding places where there are excess holes or other surface imperfections and patching them up with a concrete overlay.
Overlays are a little thicker than resurfacer. They’re a great repair option for smaller areas that need a little more attention.
Before we resurface concrete, we need to make sure that the concrete overlays we applied dry and harden.
Mix The Concrete Resurfacer
Because resurfacer is different from regular concrete, we don’t use a regular concrete barrel. Instead, we mix everything in a five-gallon plastic bucket.
We start off by pouring 3.5 quarts of cold water. Then we add the dry resurfacing powder while we mix it all together with a drill.
The mixing process takes about five minutes. We want to make sure it’s free of lumps and has the consistency of syrup. If it’s too thick, we’ll add more water. If it’s too thin, we’ll add more mix.
Apply The Resurfacer
Once we’ve properly prepared the surface, it’s time to apply the concrete resurfacer itself. This involves pouring long strips that are about one-foot wide.
Then we take a long handled squeegee and use it to scrub the resurfacer into the concrete. We’ll go back-and-forth with the squeegee, making sure everything is spread out evenly.
Apply Finish
After waiting for about five minutes, we’ll add a finish that provides non-slip resistance. This increases traction in your concrete surface so that people aren’t as likely to slip if the concrete gets wet.
One of the best application techniques for applying this finish involves using a concrete broom. We apply it to the entire surface, going over the area we just worked on without stopping. We make sure everything is done in the same direction to keep a uniform look.
Use An Edging Tool
Within about 20 minutes, we go around the perimeter using a concrete edger. This is done for both aesthetics and function. It gives a nice rounded look around the concrete, but it also prevents chips and other damage.
Let The Concrete Dry
Once concrete resurfacing is completed, it’s important to just leave it alone for a little bit.
Resurfacer actually dries fairly quickly. That’s why we need to work quickly when we apply it. When the weather is about 73 degrees, we have to get everything done within 30 minutes. Hotter weather actually reduces that time. That’s why it’s important to use cold water and make sure the cement is damp when we apply the resurfacer.
So when can you resume normal activities on your concrete? Well that depends on what it’s used for. If we’re applying the resurfacing process on patios, walkways, and pool decks — surfaces that people walk on — it should only take about six hours.
However, if we are dealing with driveways, it’ll take 24 hours. That’s how long it takes to be ready for vehicle traffic.
When You Might Want to Replace Existing Concrete

One of the main reasons you’ll want us to do a resurfacing project is the concrete resurfacing cost. It’s a lot cheaper than replacing old concrete entirely. However, sometimes, that is what needs to be done.
For example, let’s say you have a driveway that has an excessive amount of cracks on it. The reason for this might be deeper than what you see at the surface. There might be something wrong with the foundation or it might be an issue with the way the concrete was laid.
If that’s the case your concrete resurfacing options are pretty limited, and the better option for you would be to replace your concrete entirely.
Hire Experts To Fix Your Concrete Surface
DIY concrete resurfacing is always an option, especially if you’re adventurous or you just want to try something new. However, if you really want to elevate your property value, it’s not the best approach. You want to hire people who really know what they’re doing so you’re guaranteed the quality you want.
We make concrete look easy because we are experts at it. OKCrete has been serving the great people of Oklahoma for over ten years. Before that, many of us were already experienced in concrete projects. We know what we’re doing, and we’ll make sure your outdoor space is up to your standards.
If you’re in the Oklahoma City or Tulsa areas, request a free quote today!
