Serving our Community since 2012
As a concrete contractor, we continue to grow as a company through research & education and apply it to our work to bring the absolute best product & practices to our clients. At the end of the day, everyone that comes in contact with our company has a better understanding of the industry standards, giving them the upper hand when making a purchasing decision.
Our Concrete Work Process

Educate

Design/consult

Plan

Prep

Placement

Cure
About Our Concrete Construction
When we partner with a client, our goal is to give them peace of mind. We make sure they understand every step of our process outlined in our contract.
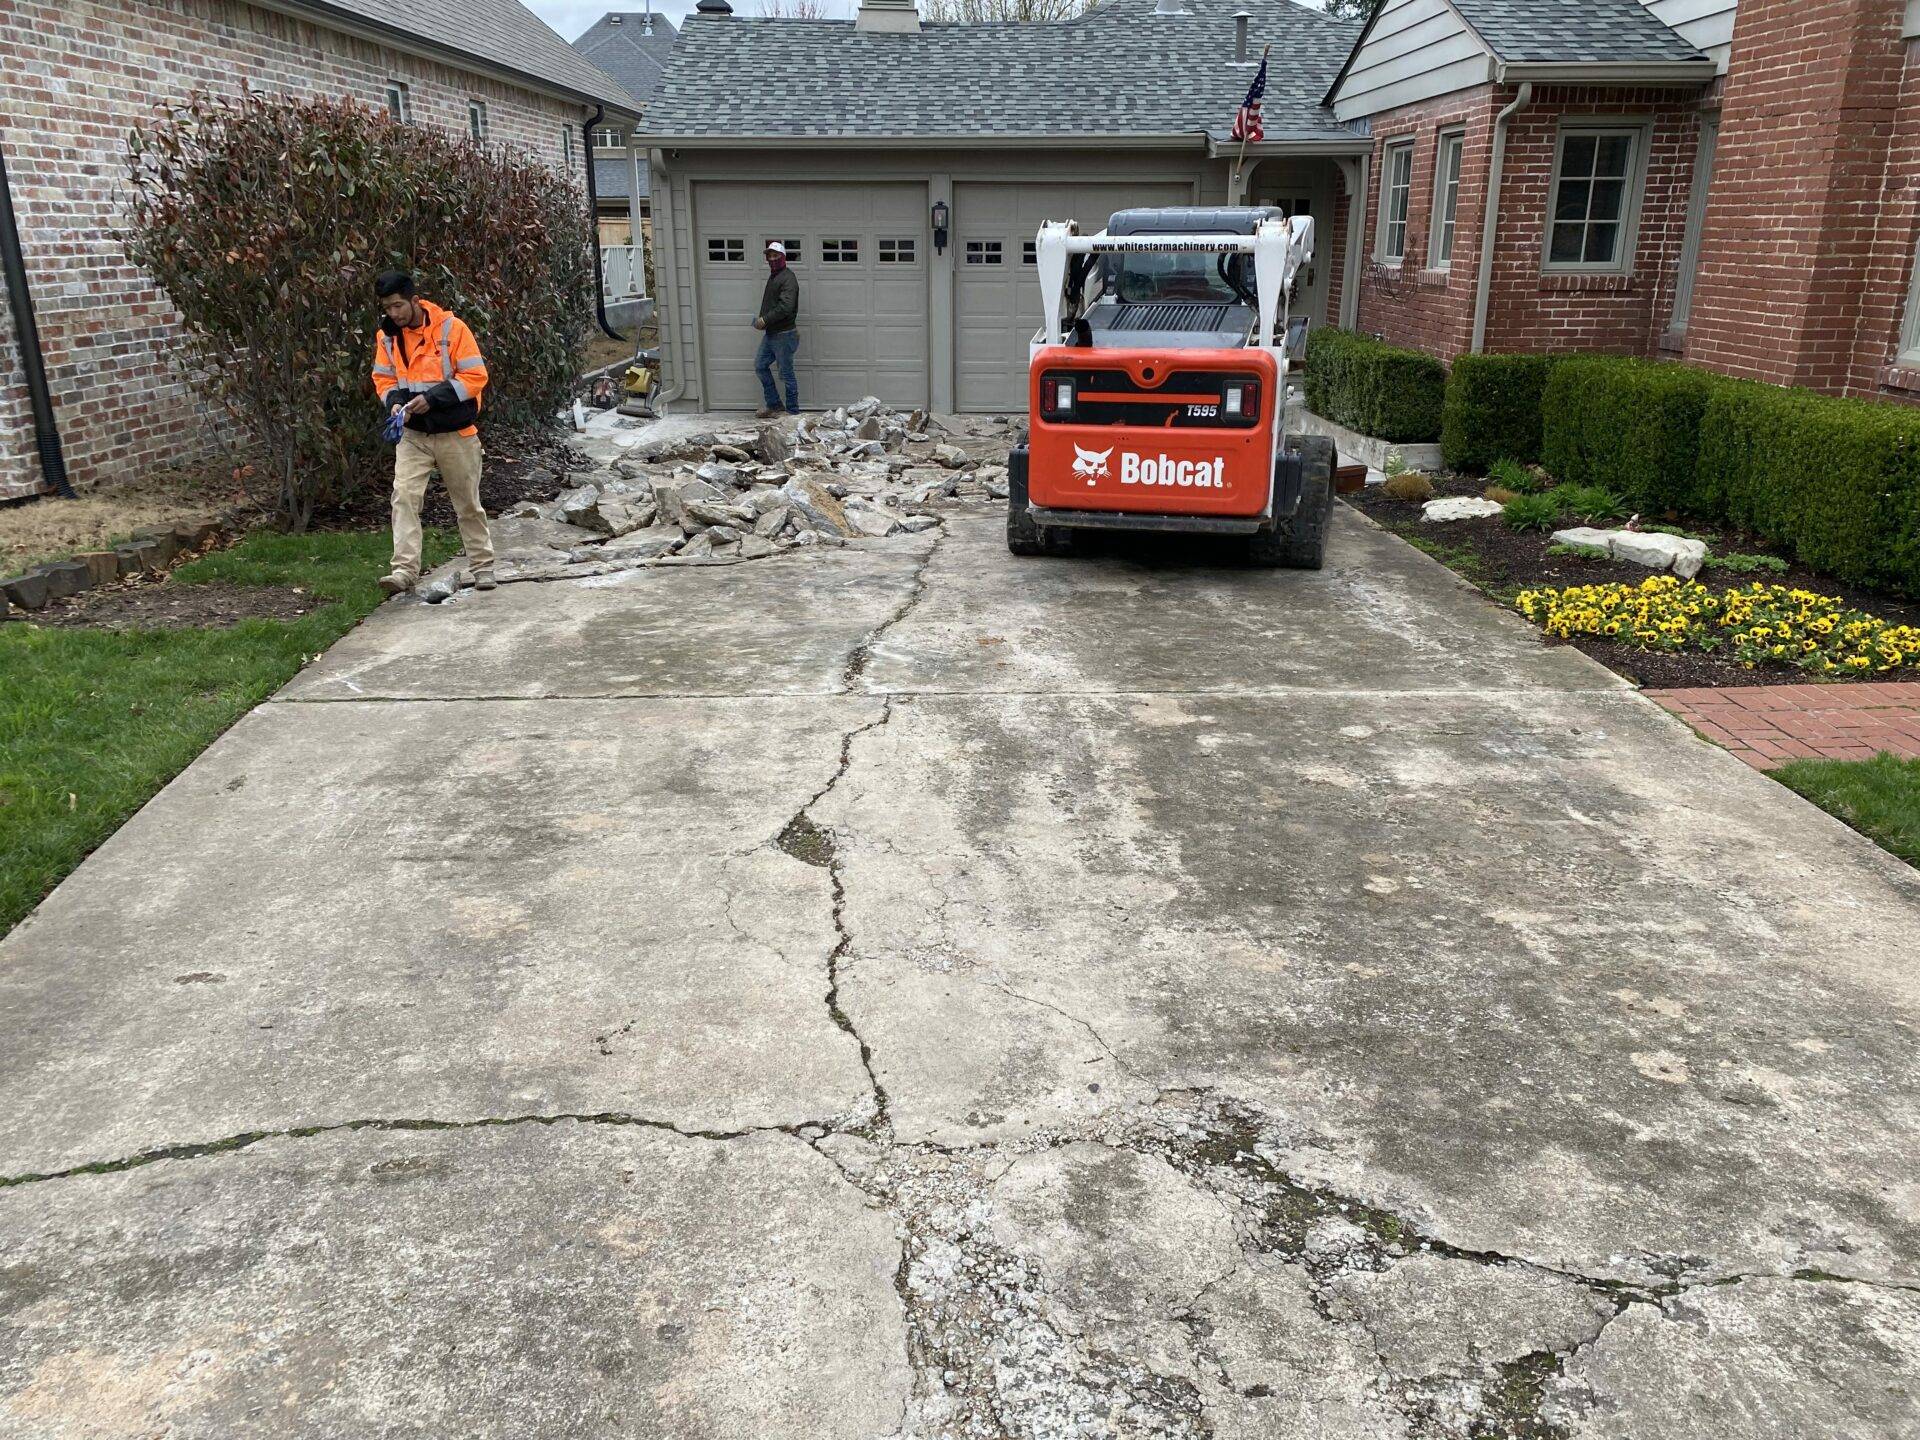
- New driveways and driveway replacement
- Decorative concrete
- Stamped concrete
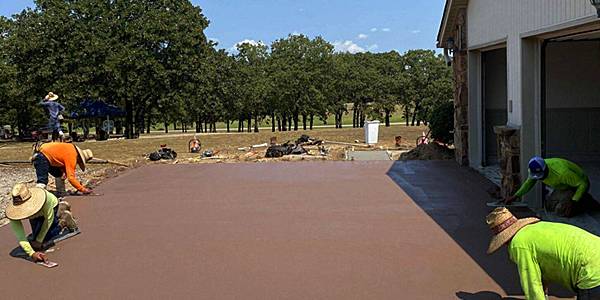
- Integral colored concrete
- Custom stamping and color
- Backyard patios and porches
- Driveway extensions & add-ons
- Concrete retaining walls
- Sidewalks
- Wheelchair/ADA ramps
- Concrete ditch liners
- Footings, stem walls, slabs, & pads
- Foundations for homes or shops
- Garage floor replacement
- Driveway approach
- French drains, trench drains, ditch liners (water control for most applications)
- Mechanical soil modification or chemical when required
- Soil density testing
- Structural aggregate base (ODOT)
- Base modification by compaction
- Rebar required size based upon application, tied 100%
- Curing compound
- Admixtures enhancements per the project’s contract
- Follow American Concrete Institution (ACI) protocols on ALL projects

Planning & Preparation
Before you begin your project, it is important to properly plan and prepare. Proper planning will save time in the end, and helps to assure your satisfaction with the finished product.
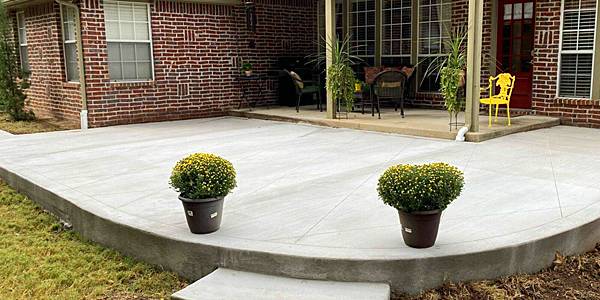
Thickness
For common household projects – driveways, walkways and patios – 4 inches thick should do the trick. You may require a thicker pour should the area see large amounts of traffic.
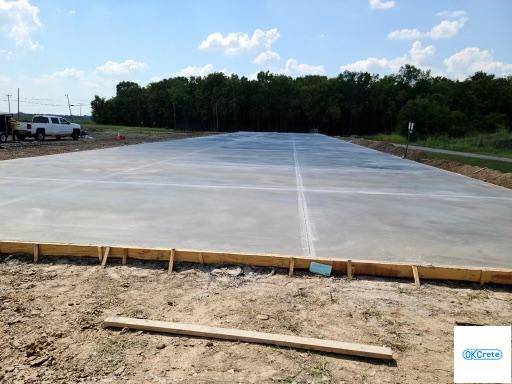
Base
We recommend using a ¾ minus crushed gravel or crusher run compacted base 2 inches thick. Never pour over organic material as it will decay and leave a void.
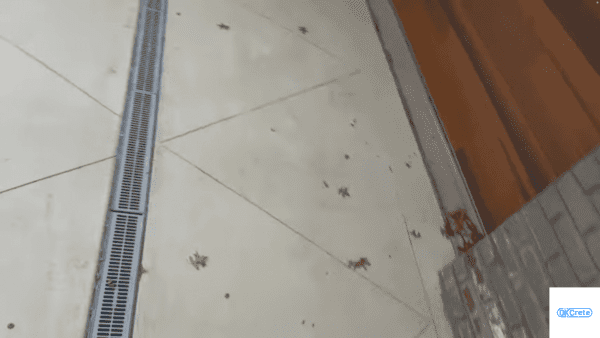
Drainage
Industry standard calls for a slope of 1 inch fall per 10 feet away from structures.
Planning your drainage at the time of installing concrete can greatly improve your property’s usability and safety while reducing future cost.
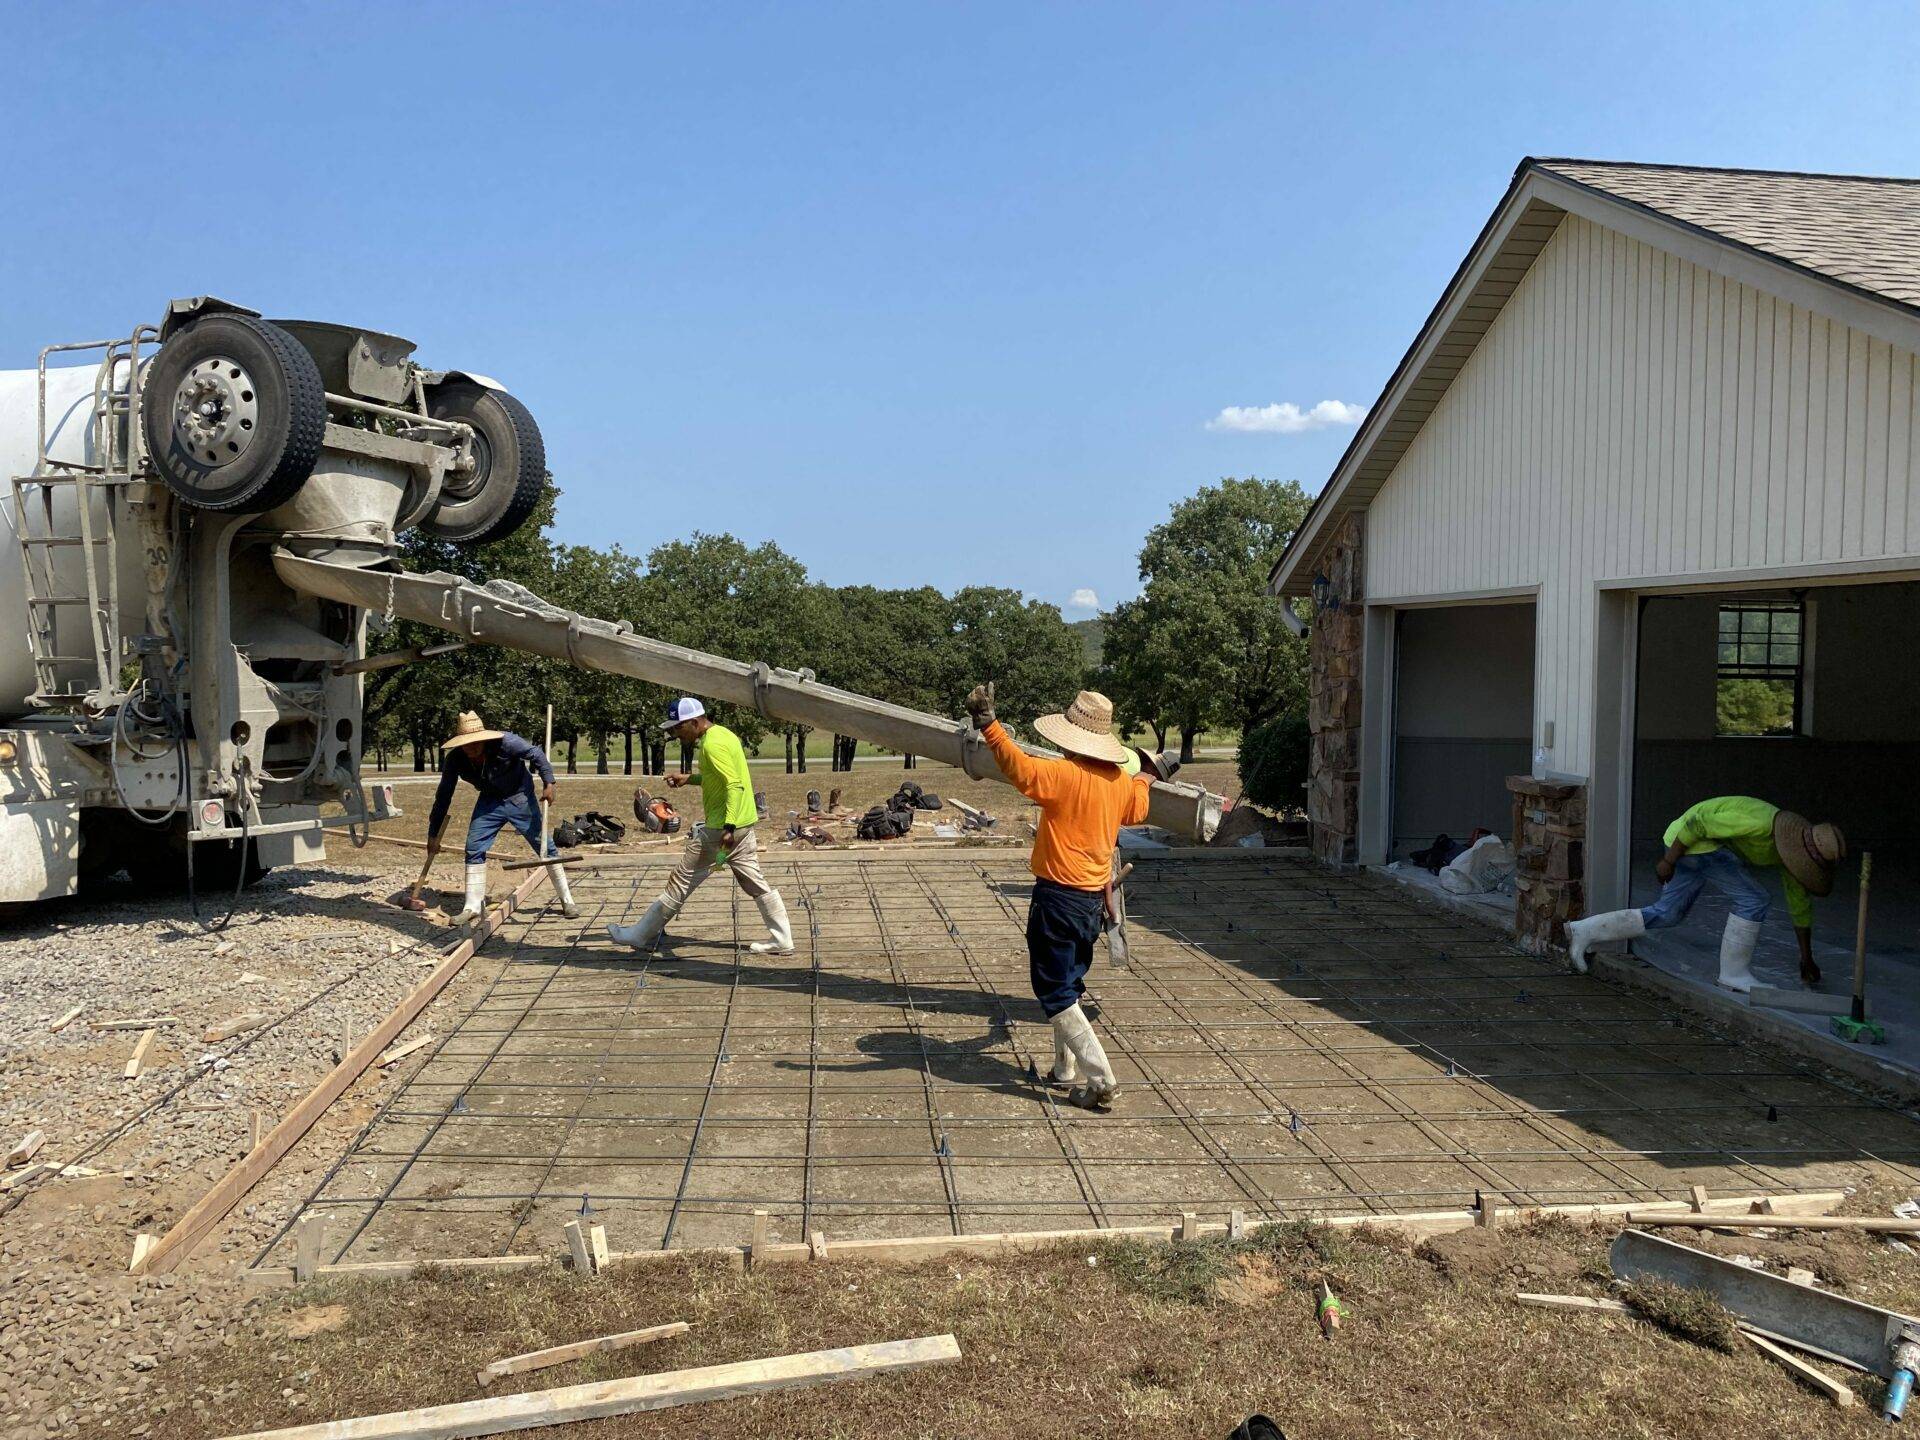
Excavation
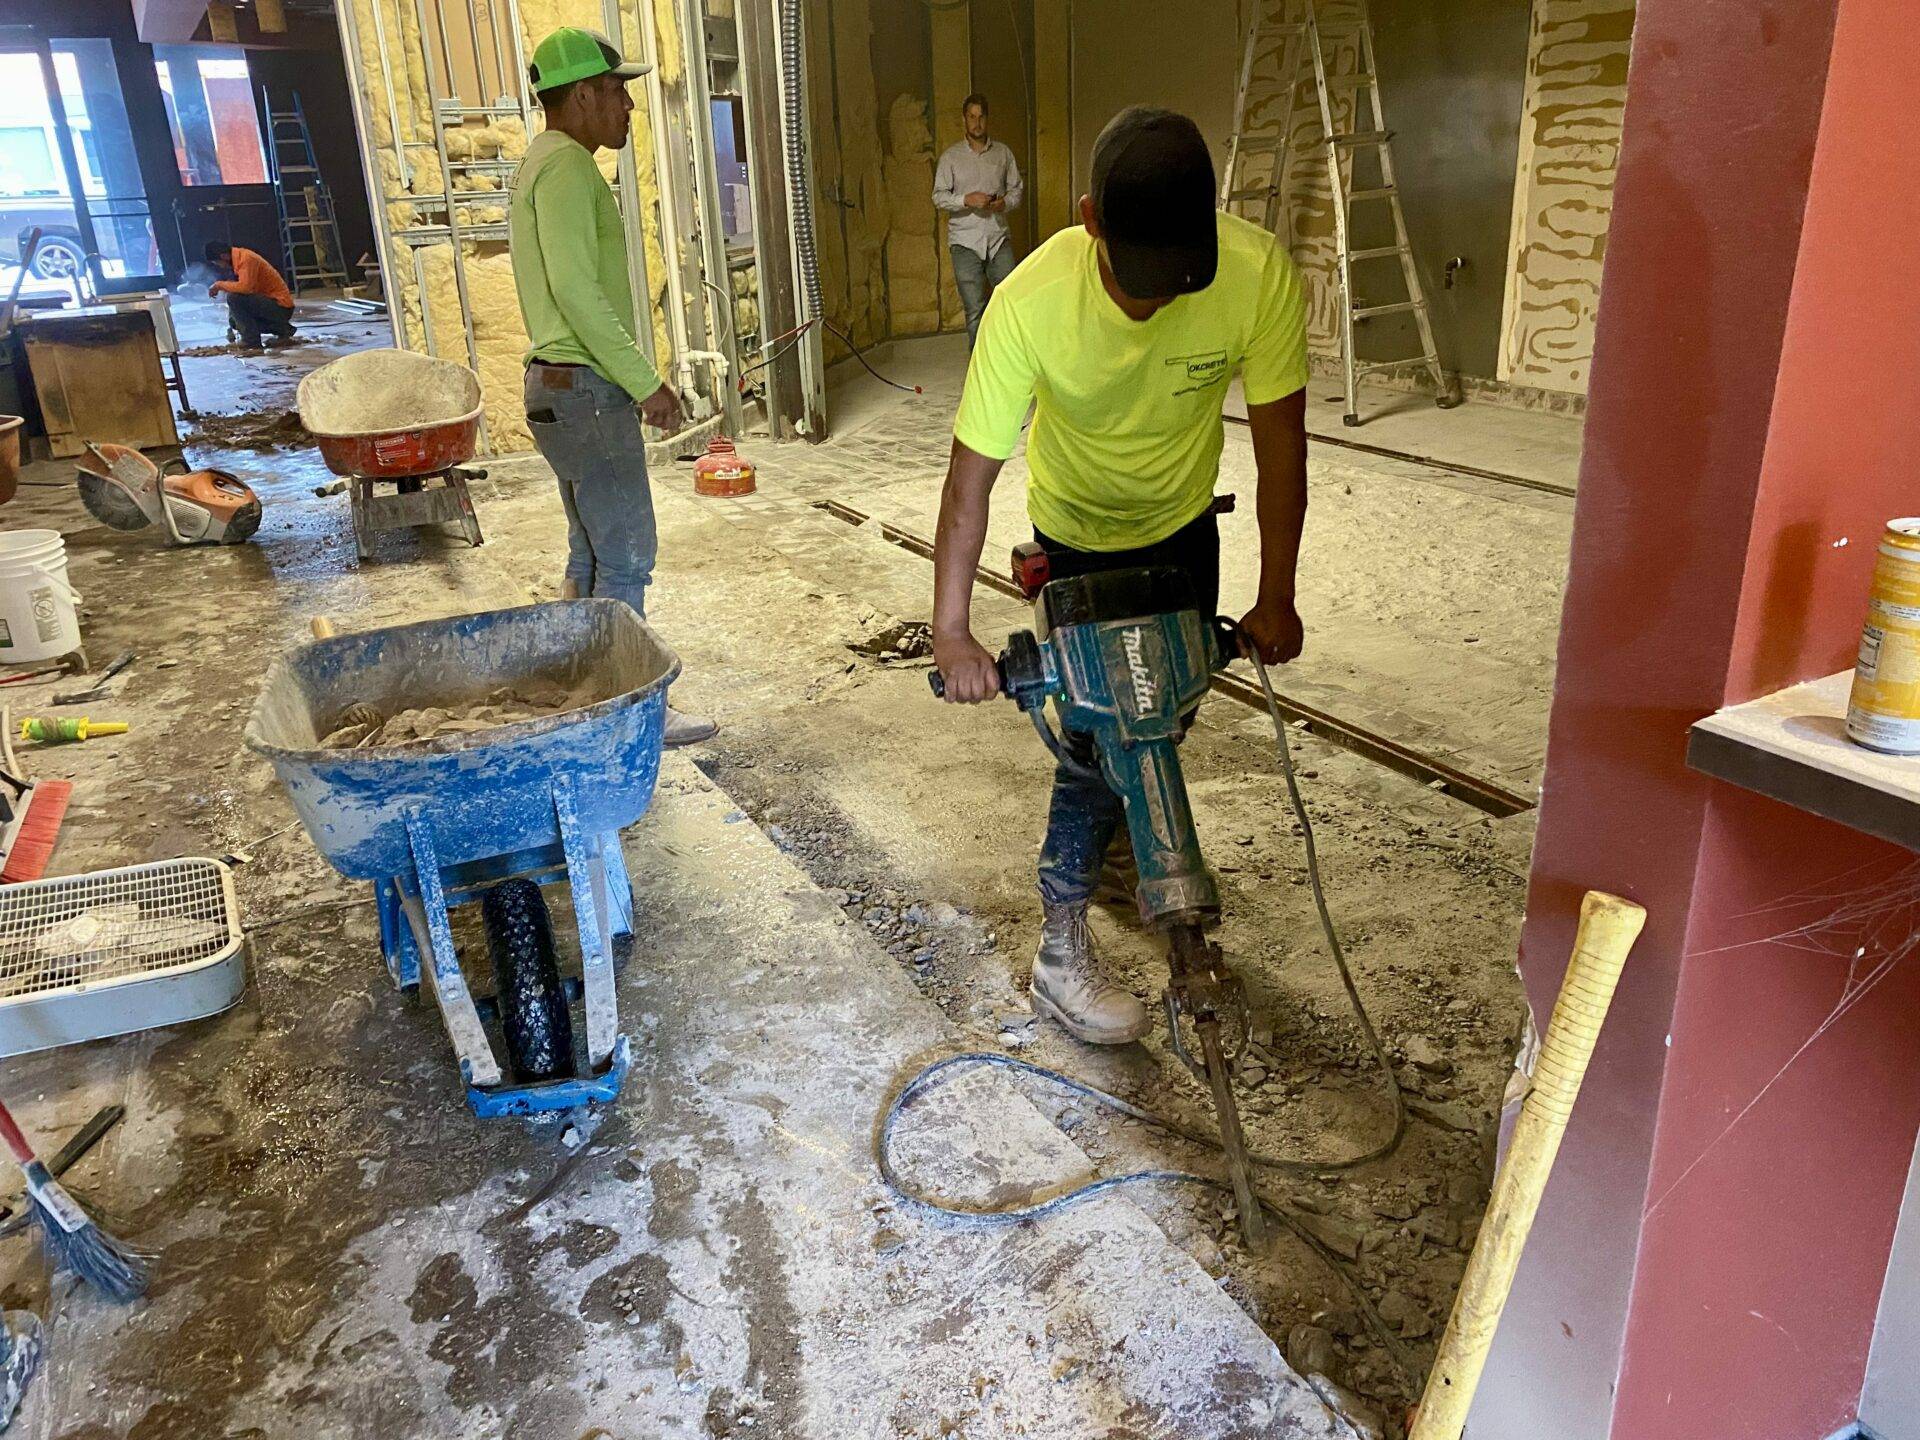
First we call OKIE811 (800-522-6543) to locate any utility lines in the area. While taking care to only dig as deep as necessary (keeping an eye out for power lines), ensure you remove tree roots, leaves, wood and any other organic matter in the desired area, as they will decay causing voids.
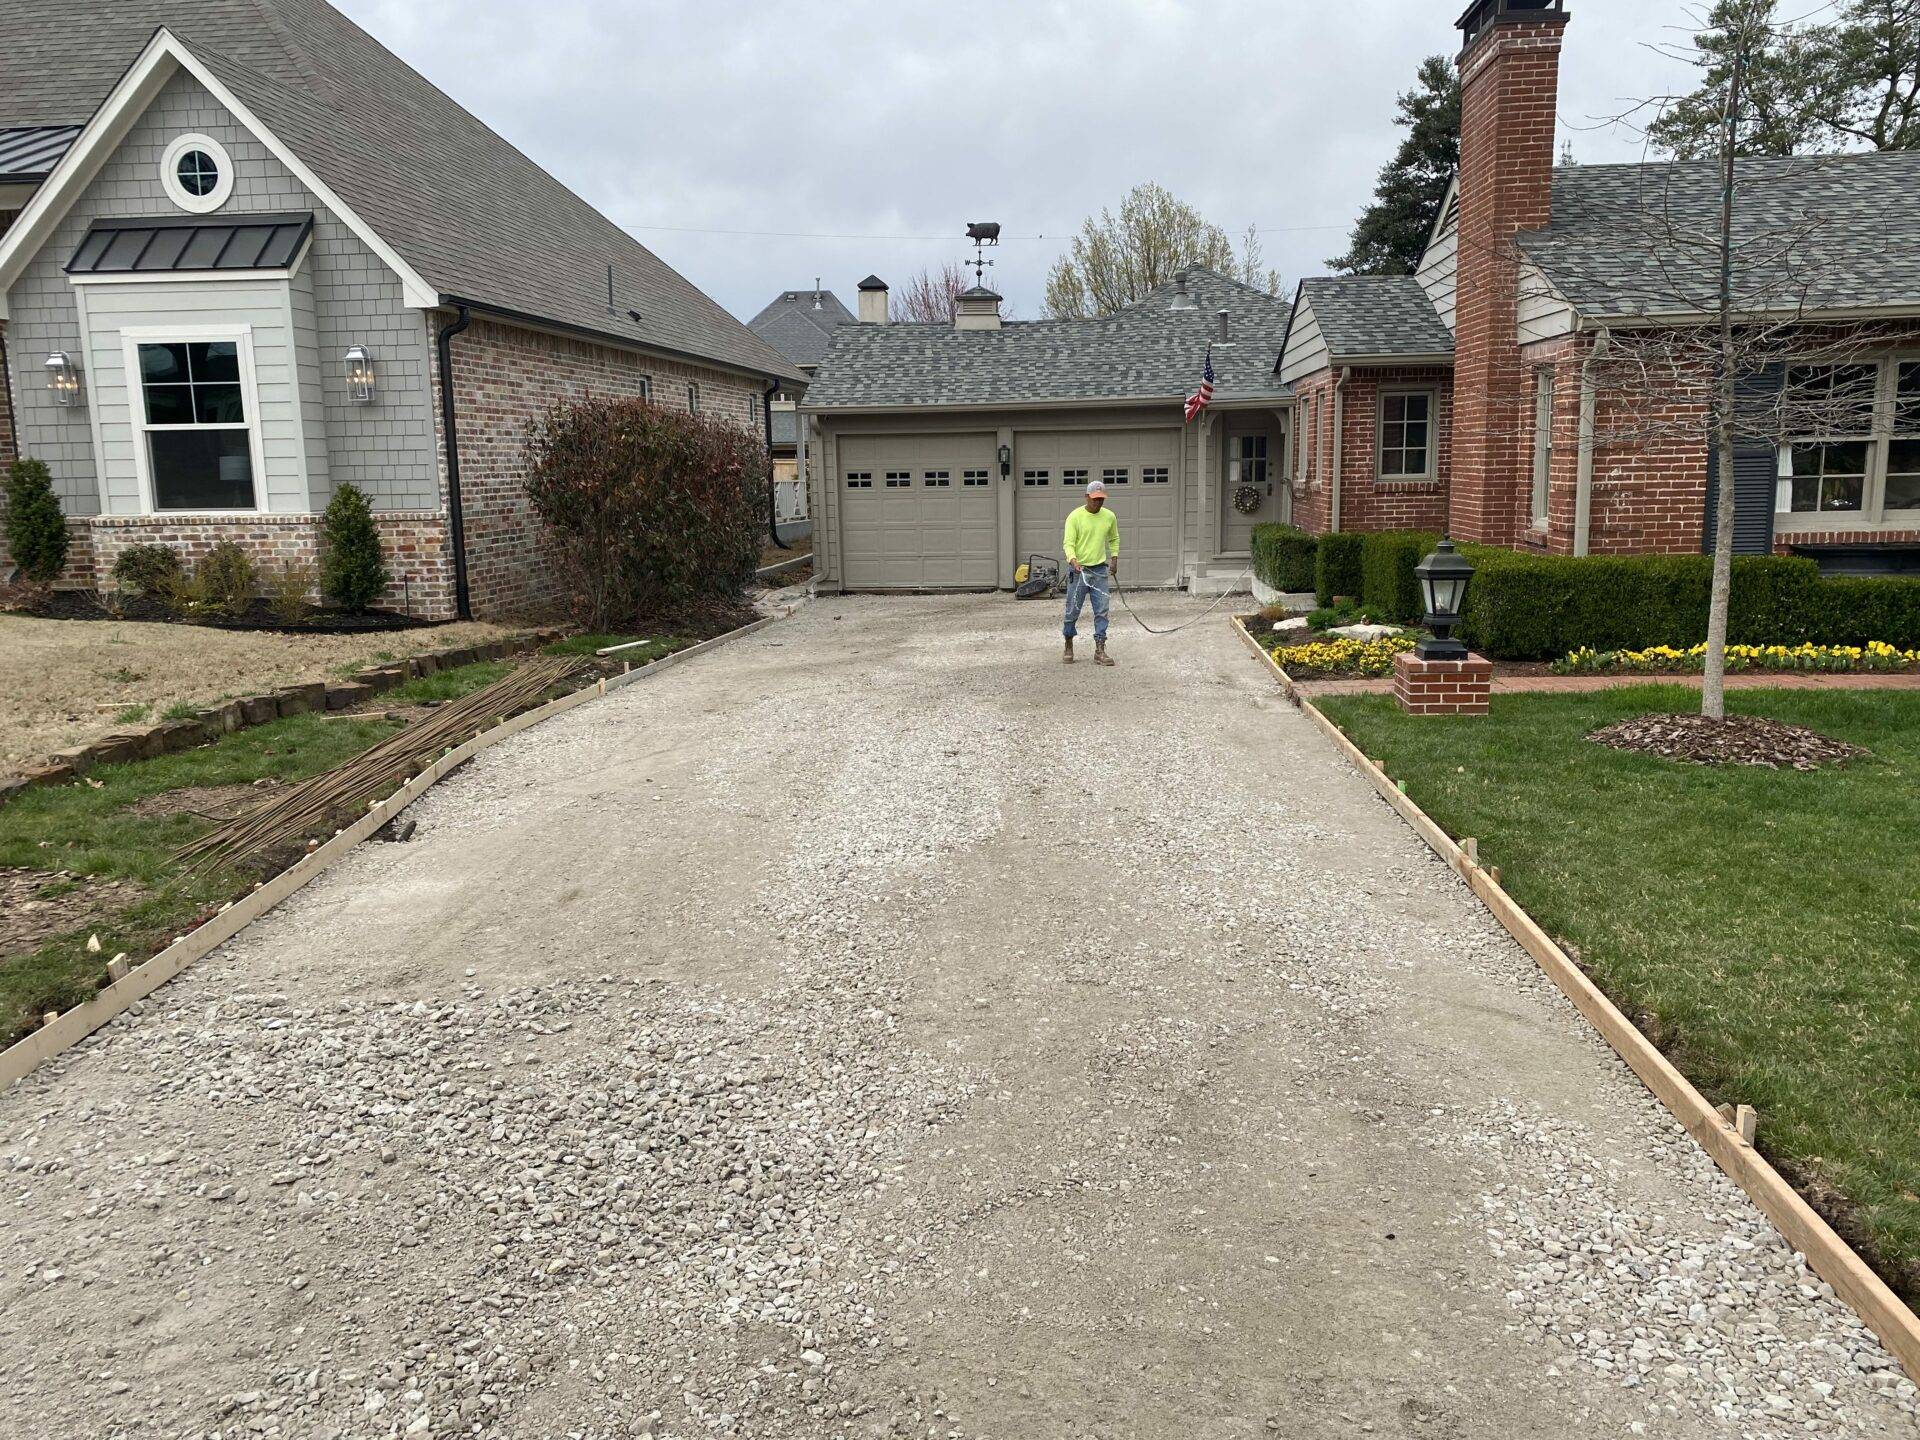
Compaction
To ensure your slab doesn’t settle or vary in thickness, make sure to compact the soil/gravel base in the desired area.
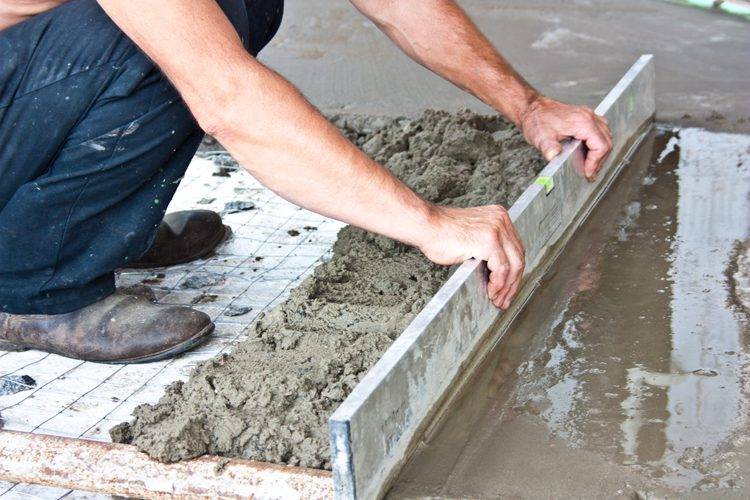
Forming
Take care to stake your forms securely to the ground, while paying close attention to the slope (for proper drainage). 2x4s are adequate for use as forms. Never use particle board or wafer board as the water from the concrete will break down the glue that holds them together. Check the accuracy of your base by pulling a string very tight across the top of your forms and measuring down to the base in several different areas.
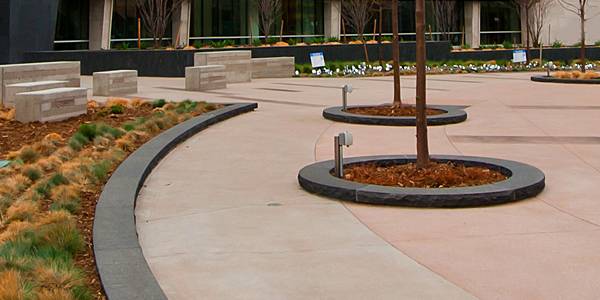
Expansion
All concrete expands and contracts with heat and cold. The forces are enough to cause buckling, cracks and can even collapse brick walls. Install premolded expansion joint material anywhere concrete will come into contact with existing slabs, steps, or buildings. You can get this material from Lowe’s and Home Depot. However, most people prefer the shredded rubber type over the fiberboard type. You can get that at M&M Lumber at 46st and Mingo. The joint must cover the entire contact area where the concrete meets any other structure to ensure the new slab will be completely isolated. This allows for heat expansion to occur without causing damage.
Get Your Free Estimate
Placing & Finishing
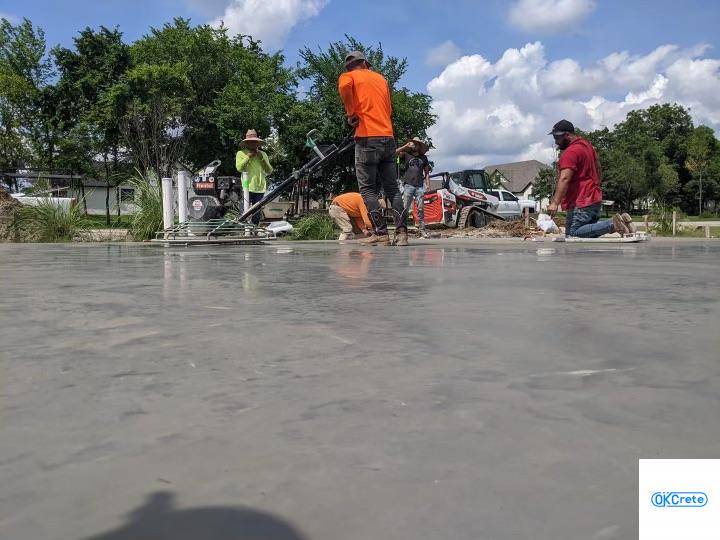
Placing
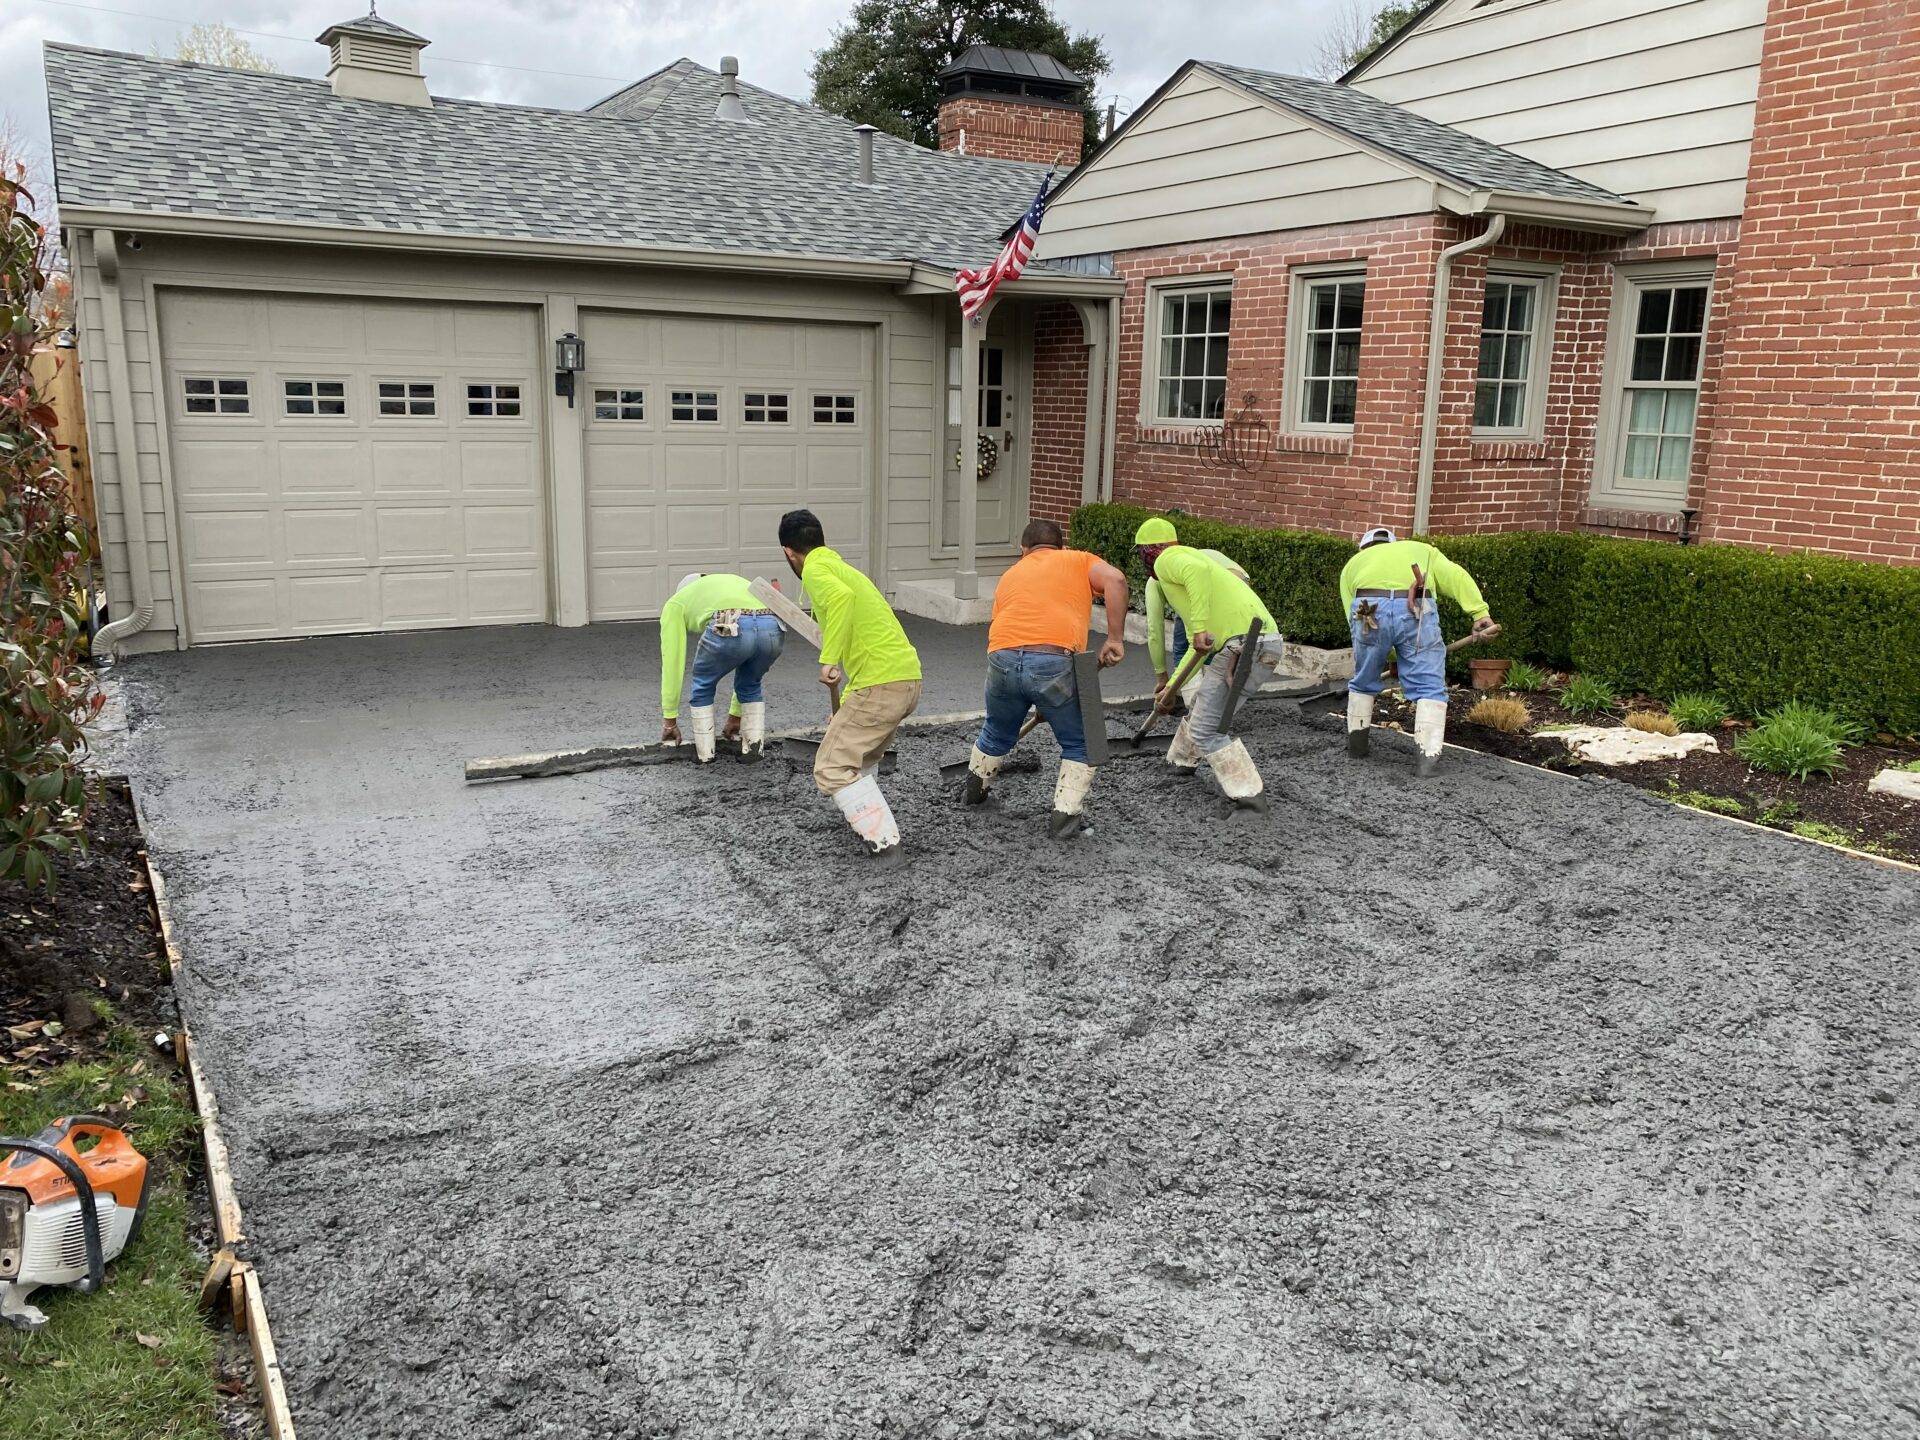
Concrete delivery should be closely coordinated with placing and finishing operations. Concrete should not be poured faster than it can be spread and screeded. Instead, concrete should be poured continuously as near as possible to its final position. You should never dump concrete into separate piles and work them together.
Consolidation
Finishing
Slabs exposed to the elements, driveways, patios, etc. – will need to be finished. You can finish your concrete in many ways, including color tinting and texturing. Patterned and stamped finishes are very popular on projects of all sizes.
Most surfaces will require strike-off or screeding to proper contour and elevation. In this process a straight edge (2X4 on edge) is moved across the concrete with a sawing motion.
Bull-floating eliminates high and low spots and embeds large aggregate particles immediately after strike-off. Jointing is required to eliminate unsightly random cracks.
Relief Joints
Can be made with a hand groover while the concrete is wet enough to work. The grooves should be at least 1/2-inch to 3/4-inches deep.
Another method of making relief joints and a bit cleaner look is to saw-cut joints after the concrete is hard enough to prevent chunking along the cut line.
After the concrete has been jointed, it should be floated with a wood or magnesium float or with a finishing machine using float blades. This embeds aggregate particles just beneath the surface; removes slight imperfections, humps, and voids; and produces the grout layer at the surface in preparation for additional finishing.
Where a smooth surface is desired, floating should be followed a short time later with steel troweling. A slip-resistant surface can be produced by brooming before the concrete has completely hardened, but it should be sufficiently hard to retain the scoring impression from the bristles. If the surface grout moves in front of the broom, it is too soon.
Curing
Curing in Extreme Weather
Curing Shortcuts to Avoid
Other Tips
Sealing
Water-repellent coatings or sealers can help prevent damage from freeze/thaw cycles and salting. They keep water from getting into the surface pores. Newly cured concrete should have a period of air-drying before being sealed. Follow the sealant manufacturers directions.

First Winter
Do not use salt or other deicers during the first winter. Use sand instead to improve traction. Even light applications of salt, or salt carried on cars may cause severe scaling of newly placed concrete. Fertilizers are not an acceptable deicer at any time.

